Physical Address
304 North Cardinal St.
Dorchester Center, MA 02124
Physical Address
304 North Cardinal St.
Dorchester Center, MA 02124
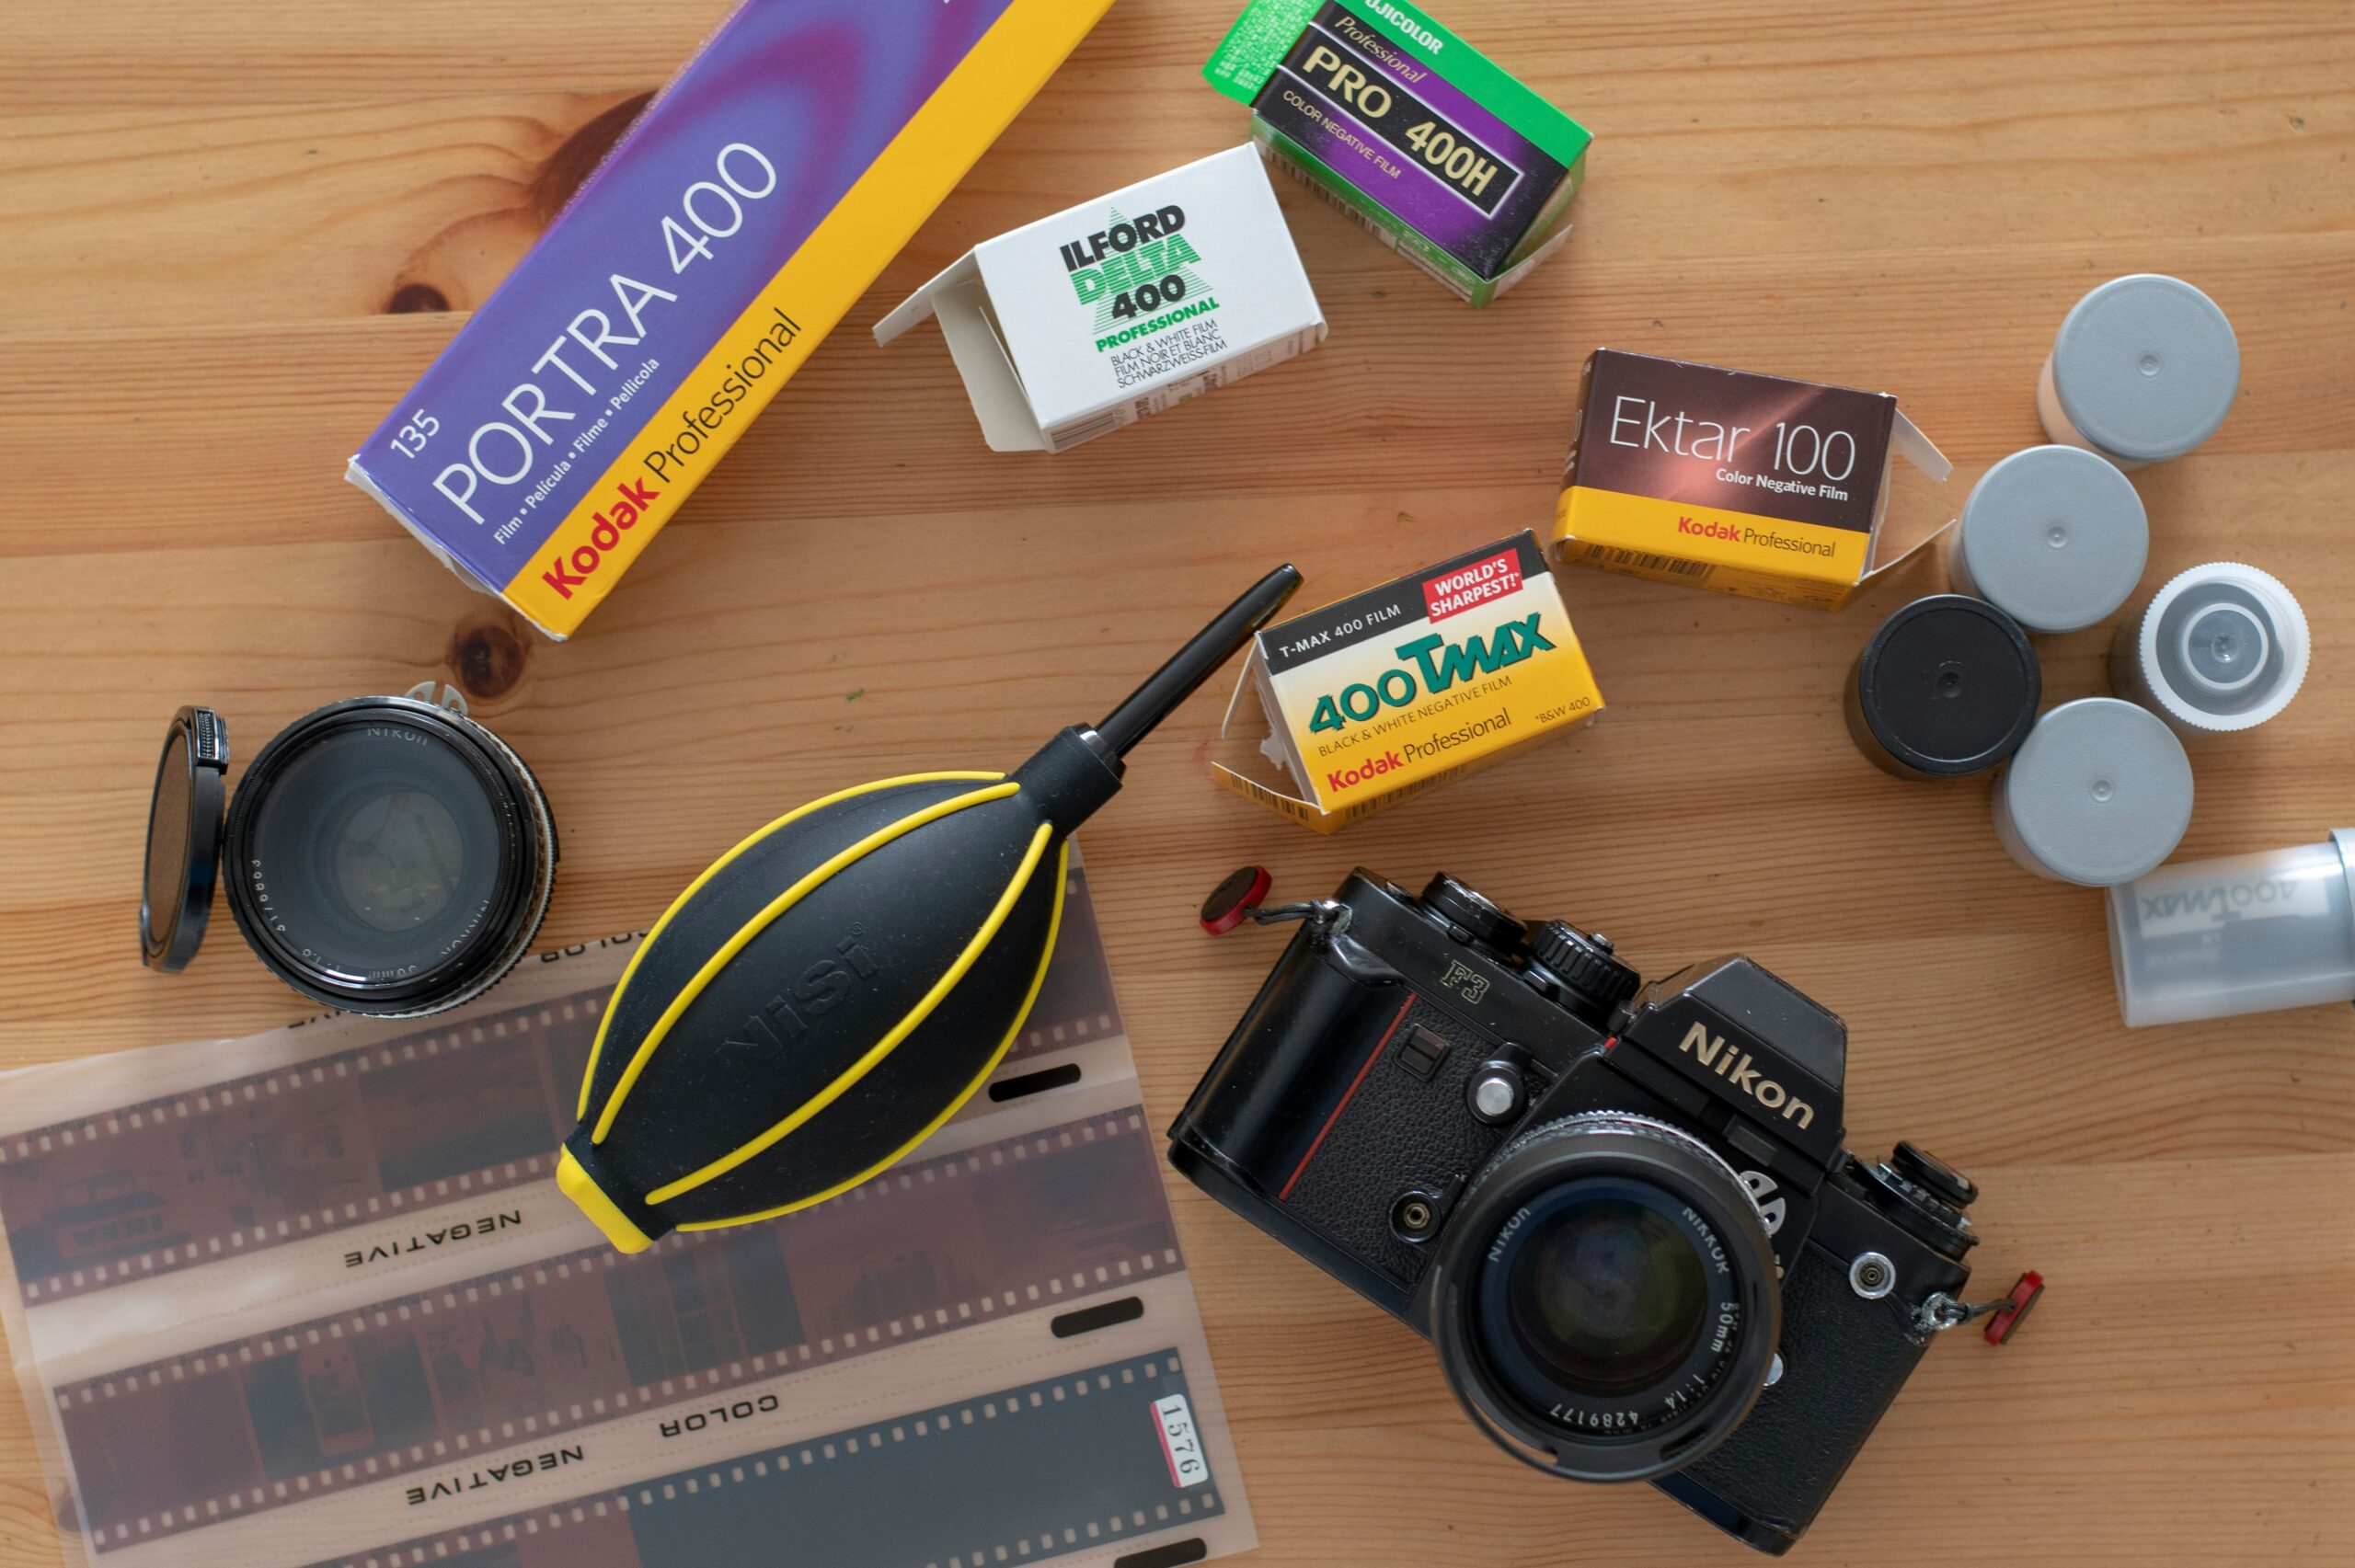
Get started with film photography the right way! This beginner-friendly guide covers everything from choosing your first film camera, understanding ISO, aperture, and shutter speed, to developing and scanning your film. Learn the essential tips and avoid common mistakes to master the art of shooting film.
When I first started shooting film, I wish I had a guide like this. I was completely drawn in by the magic of film, but I was also overwhelmed by all the new terms, techniques, and the sheer amount of trial and error involved. Looking back, I made a lot of mistakes—mistakes that could have been avoided if I had known just a bit more about how film photography works. I wasted rolls of film by underexposing, misloading, and rushing through shots. But I also learned a lot along the way, and it shaped the photographer I am today.
In this guide, I’m going to touch on the things that helped me the most as I progressed in film photography. I’ll also share some of the key lessons I learned from my own mistakes—things that would’ve saved me time, money, and a lot of frustration when I was just getting started. Whether you’re brand new to film or looking to improve your skills, this guide will give you the knowledge you need to get started confidently.
You’ve probably heard all the common reasons why people choose film over digital—the slower process, the intentionality, the unique grain. And while those things are true, I don’t think we need to dive too deeply into them here. For me, film is just another artistic medium—a tool in the creative process, like a paintbrush for a painter or clay for a sculptor.
What I personally love about film photography goes beyond the clichés. Yes, it’s slower and makes you think more about each shot, but what really pulls me in are the physical aspects of shooting film. I love the feel of the camera in my hands—the weight of it, the tactile experience of advancing the film, the satisfying click of the shutter. These cameras have history, and using them connects me to that history.
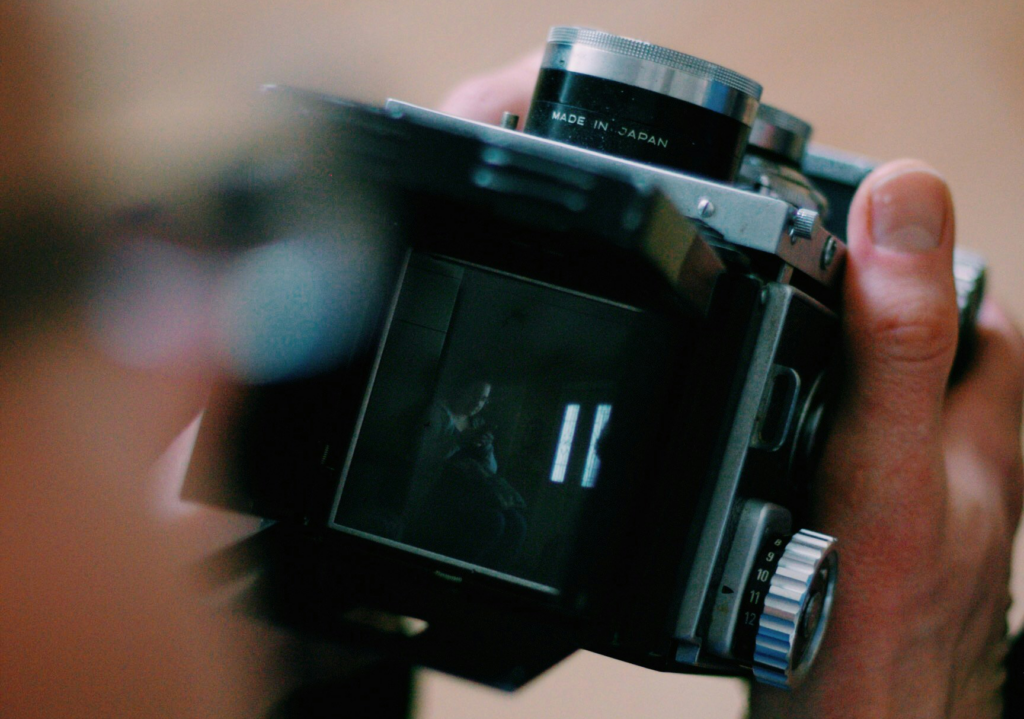
Then there’s the imperfection of film—the grain, the light leaks, the unexpected surprises when you develop your roll. These “flaws” add character to each image in a way that digital can’t. And nothing compares to the magic of seeing a print come to life in the darkroom, slowly appearing on a blank sheet of paper.
But most of all, I love how film seems to capture the emotions of a scene. There’s something about film that gives each shot a soul—it’s not just an image, it’s a memory, a feeling, a connection to the moment it was taken. That’s why I shoot film, and why I think you should too.
I could go on about these things for days, but I’ll save that for another article. For now, just know that film photography offers something more than just technical benefits. It’s a deeply personal, tactile, and emotional medium, and once you start, you’ll understand why so many people swear by it.
We can get as broad or as simple as we want when it comes to defining film photography. At its core, it’s the process of capturing images on light-sensitive film, which is then developed and processed to create physical prints or digital scans. But one thing I want to note is that film is going to be a huge part of your experience—this is where the style and look of your images come from. The film you choose directly influences the final result, and many photographers use this aspect of film photography to develop their own unique style.
There’s so much flexibility in how you use film, and one of the more advanced techniques you can explore is pushing or pulling film. This means giving the film more or less light than it’s rated for and then adjusting the development process to compensate. For example, I often push Ilford HP5 Plus (a 400-speed film) to 800 or even 1600 to increase the contrast. It gives the images a different look, with deeper blacks and more punch in the highlights.
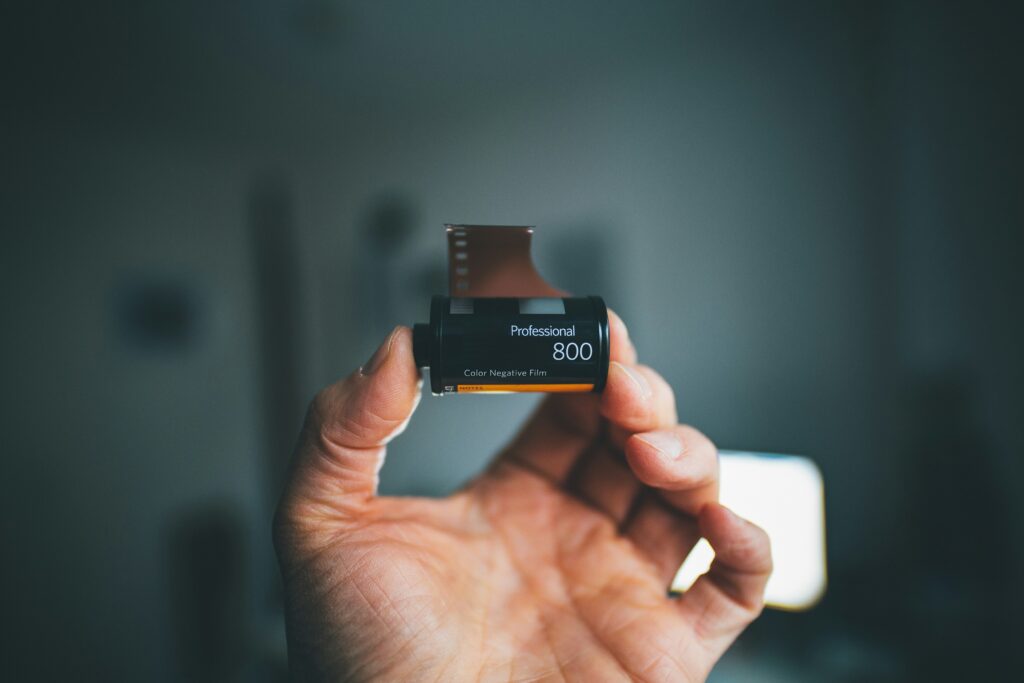
You can also achieve a specific look by simply overexposing your film by a stop or two. A lot of photographers do this to get a cleaner, flatter image with more detail in the shadows. However, I’d advise against underexposing on purpose—your blacks tend to get muddy, and you’re often left trying to fix it in post, which can be a hassle if you’re planning to edit in Lightroom or another editing program.
In simpler terms, like I’ve mentioned before, film is just another medium for artistic expression. It’s the tactile process, the imperfections, and the control you have over the final look that make it such a unique and fulfilling way to create images.
I’ve found that choosing the right camera tends to be one of the hardest parts for people getting into film photography. It’s easy to get overwhelmed by all the different options and technical details. I’ve written a whole article The Guide To The Best Beginner Film Cameras. to help you navigate the process and point you in the right direction. Here’s something important to keep in mind: the camera you find, or maybe the one you already have, is good enough as long as it works.
In my experience, the camera is just a tool. Some give you more control, and others handle the heavy lifting for you. But once you realize that developing your photographer’s eye is key, it won’t matter so much which camera you’re using. Learning how to see light, compose shots, and tell stories through your images will make more of a difference than the gear itself.
This is one area in film photography that tends to get a little too much attention, especially when you’re just starting out. It’s easy to fall into the trap of thinking you need the “perfect” camera, but trust me—any functional camera will do. Focus on shooting and honing your craft first, and as you grow, you can explore different models and systems that fit your style.
Film cameras typically fall into two categories: SLRs (Single-Lens Reflex) and Rangefinders. SLRs, like the Pentax K1000, allow you to see exactly what the lens sees through the viewfinder, while rangefinders, like the Konica C35 FD, use a separate viewfinder and can feel more compact and quiet.
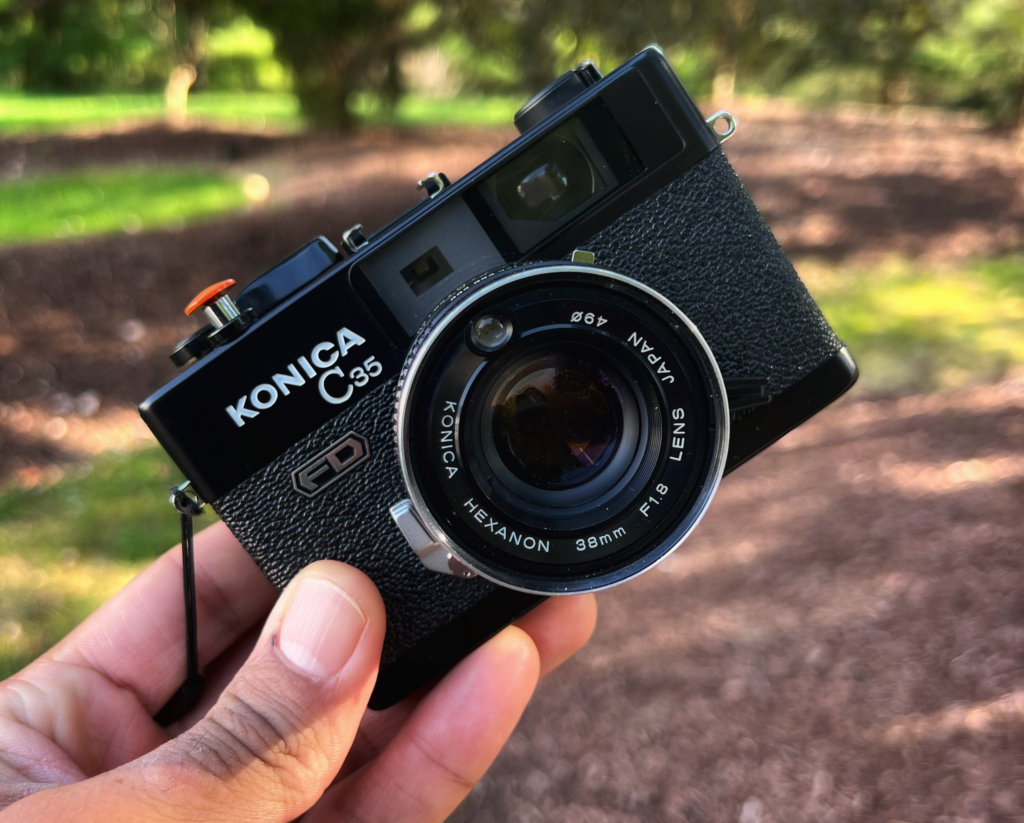
For a more in-depth look at the handful of cameras I recommend and why they might be the right fit for you, be sure to check out The Guide to the Best Beginner Film Cameras.
With so many brands, models, and time periods to choose from, finding the right film camera can feel overwhelming. The best camera is often a matter of personal opinion, based on the features you value most. Some photographers swear by the classics like the Pentax K1000 or Canon AE-1, while others might prefer rangefinders or more automated systems. The beauty of film photography is that there’s a camera out there for everyone, whether you want full control or just want something simple and reliable.
This wide range of options allows you to find a camera that fits your specific needs. But no matter which camera you choose, I believe there are only three key features that truly matter, especially when you’re starting out: manual controls, durability, and lens compatibility.
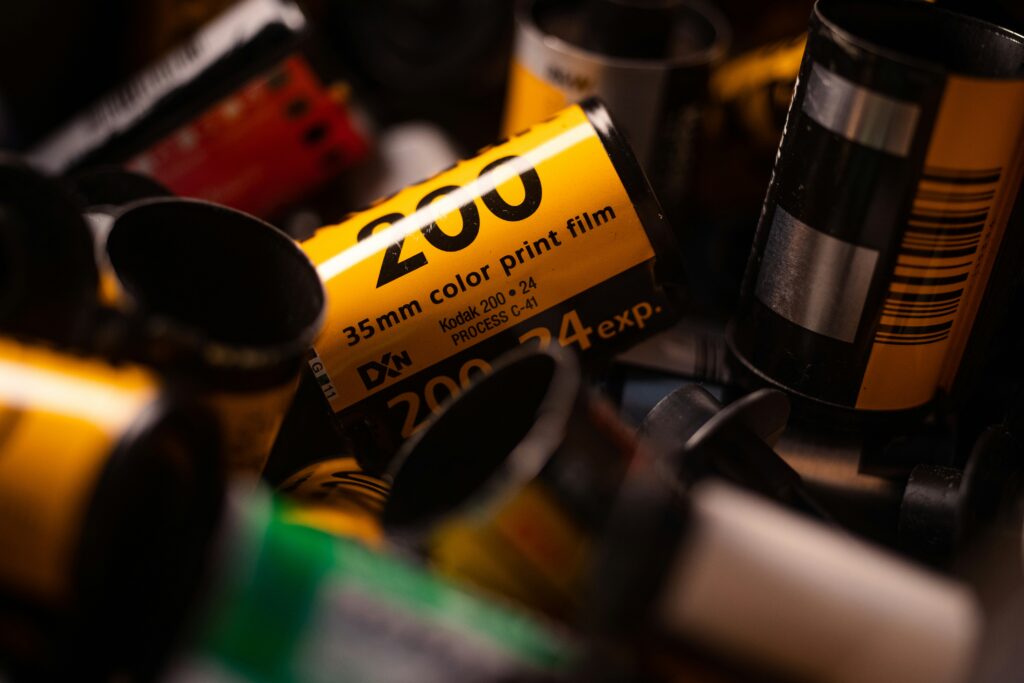
When it comes to film stocks, there are a wide variety of options to explore. Each film stock has its own unique characteristics, whether it’s the color palette, grain structure, or exposure latitude. Even today, despite some films being discontinued, new stocks are still being introduced by companies looking to expand the range of films available for both everyday use and experimental shooting. For example, brands like Cinestill and Lomography continue to release innovative and creative film options.
With so many choices, I suggest trying out different film stocks that catch your interest and navigating the space without bias. Some photographers prefer the look of classic films like Kodak Portra 400 or Ilford HP5, while others might be drawn to more niche stocks like Cinestill 800T. What’s important is that you experiment with various stocks to find what resonates with your style. There’s no right or wrong when it comes to the film you choose to shoot. Whether you prefer vibrant colors, muted tones, or punchy contrast, the beauty of film photography is in its diversity.
By exploring different brands and film stocks, you’ll discover how each one affects your final image, allowing you to refine your personal style over time.
ISO measures a film’s sensitivity to light:
ISO refers to a film’s sensitivity to light and plays a crucial role in ensuring your image has the right exposure. A lower ISO, like 100 or 200, is less sensitive to light and is best used in bright daylight, while a higher ISO, like 400 or 800, is more sensitive and better for low-light conditions.
When it comes to film, you actually have a bit of wiggle room when shooting, thanks to the medium’s forgiving nature. I’ve already mentioned more advanced techniques like pushing and pulling film to achieve a specific look. These methods involve intentionally rating your film at a different ISO than what’s on the box, then adjusting your development process to compensate. You’ll often hear more seasoned shooters talking about pushing film for extra contrast or pulling it for a softer, lower-contrast result. However, there’s nothing wrong with sticking to box speed—the ISO rating the film was designed for. In fact, I’d recommend starting there as you get familiar with film photography.
Because film can get dark quickly if underexposed, I suggest shooting a stop over the box speed to give yourself a bit of buffer. This will help ensure you’re capturing enough light, making it easier to avoid muddy or murky images, especially when you’re still learning how to master exposure.
Another tip is to meter for the shadows. This means focusing on exposing the darker areas of your frame, which ensures that your shadows and mid-tones retain detail and don’t turn to black. By metering for shadows and shooting slightly overexposed, you’ll keep your exposures well-balanced and avoid the pitfalls of underexposing your film.
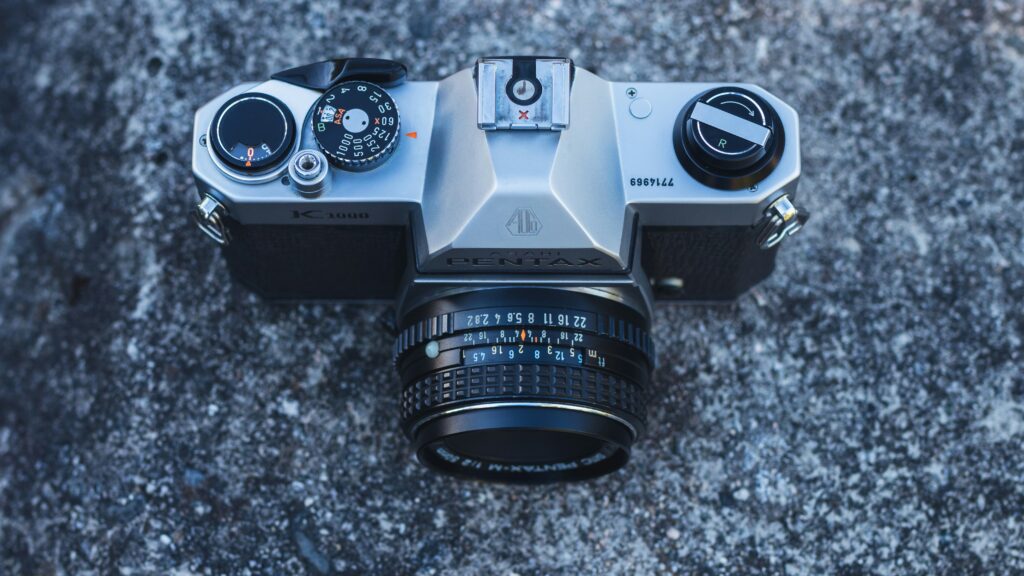
The exposure triangle consists of:
If you’re just starting out, you’ve probably already read about aperture, shutter speed, and ISO, or maybe even experimented with them on your own. But there’s one crucial element that isn’t always explained clearly when learning these settings: how do you know which setting to adjust to get the image you want? This is where a lot of beginners struggle, and it’s something I wish I had understood more clearly when I was starting out.
Let me break it down so you can avoid the same frustration. First, when shooting film, your ISO is set once and not changed again throughout the roll. There’s more flexibility to this concept with digital cameras, but for now, in film photography, set your ISO to the box speed (the number listed on the film box). For example, if you’re shooting Portra 400, set your ISO to 400. Keep this constant for the entire roll.
Now that your ISO is set, the two settings you’ll be adjusting from shot to shot are your aperture and shutter speed. This is where your creative decisions come into play, and how you set them will depend on what you’re shooting and the visual effect you want to achieve.
Your aperture controls the amount of light entering the lens and the depth of field, or how much of your image is in focus. If you’re shooting a portrait and want to isolate your subject with that beautiful, blurry background (also known as bokeh), you’ll want a wide aperture—think f/2.8 or f/1.8, and if you have a really fast lens, even f/1.4. A wide aperture creates a shallow depth of field, making your subject sharp and the background creamy and out of focus. In these situations, you’ll typically need a faster shutter speed (likely above 1/500 depending on your lighting) to balance the exposure.
On the other hand, if you’re shooting a landscape and you want everything in focus from the foreground to the background, you’ll need a narrower aperture, such as f/11 or f/16. This will give you a greater depth of field, meaning more of the scene is sharp and in focus. However, because a smaller aperture lets in less light, you’ll need to compensate with a slower shutter speed, perhaps around 1/60 or slower, depending on your lighting conditions.
Shutter speed controls how long your camera’s sensor or film is exposed to light. A faster shutter speed (like 1/1000 or 1/500) is great for freezing action, such as in sports or wildlife photography, while a slower shutter speed (like 1/30 or 1 second) can introduce motion blur, which is useful for creating dynamic effects in things like waterfalls or cityscapes at night.
Ultimately, deciding which settings to adjust depends on your style and the look you want. You’ll adjust your aperture and shutter speed in tandem to ensure your image is correctly exposed while achieving the creative effect you’re going for. It’s all about balance—and with time, adjusting these settings will become second nature.
Finding the right balance for your settings doesn’t have to be overcomplicated. In fact, it’s more straightforward than many people think, because there are only three things you can adjust in-camera: ISO, aperture, and shutter speed—all of which we’ve already discussed.
The easiest part is your ISO, which is set when you choose your film. This is one decision you make upfront, and you won’t have to change it again while shooting that roll. Once your ISO is set (say you’re shooting Portra 400, so you set your ISO to 400), you can move on to the next setting.
Your aperture is the second thing you should decide, based purely on the story you’re trying to tell with your image. Do you want a shallow depth of field for a portrait, where the background blurs into a creamy bokeh, or do you want to capture a landscape with everything in focus? Once you’ve decided on the aperture based on your creative vision, the only thing left to adjust is your shutter speed.
At this point, balancing your settings becomes even easier. With your ISO and aperture locked in, your shutter speed will be determined by the lighting conditions. Your camera’s light meter will guide you to set the correct shutter speed, depending on the available light. In bright conditions, you’ll need a faster shutter speed; in low light, a slower speed. Your goal is to find the shutter speed that works with your aperture and ISO to create a properly exposed image.
The beauty of this process is that it simplifies decision-making: once you’ve decided on your ISO and aperture, you only need to tweak one variable—shutter speed—to nail the exposure.
This is obviously one of many ways to approach balancing your settings, but I believe this method will help you understand exposure and balance the fastest and easiest way. As you shoot more, you’ll naturally begin to experiment with different combinations of ISO, aperture, and shutter speed based on the look and feel you want to achieve. Eventually, you’ll reach a point where you can break the rules and push your creativity even further, but starting with this foundational approach will build the confidence you need to explore more advanced settings and techniques.
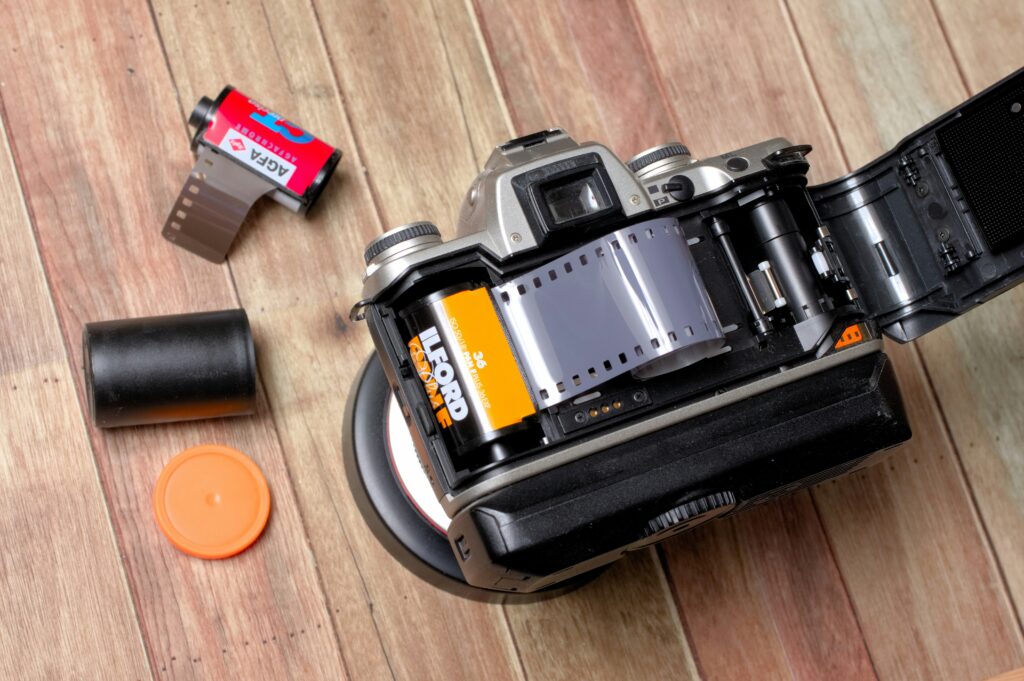
Loading film is one of those tasks that becomes easy with a bit of practice. Different cameras have different types of take-up spools—the part of the camera that winds the film as you advance to the next frame. Despite the variety, the basic concept remains the same across all models: the spool’s job is to secure the film so it can advance properly from one frame to the next.
Some cameras come with a helpful indicator that shows you exactly where to leave the film leader before closing the back, while others require you to manually insert the leader into the take-up spool. The key is to make sure the film is secured in the spool before you start shooting.
For me, the best way to ensure the film is loaded correctly is by doing two things:
Getting this step right is crucial because if the film isn’t properly loaded, you’ll end up with blank frames—or worse, an entire roll of missed shots. With a bit of practice, loading film will become second nature, and you’ll be able to focus on capturing images rather than worrying about the mechanics.
We’ve already touched on metering for the shadows, which is an effective and easy way to ensure your exposures are correct, especially when you’re starting out. It’s important to remember that film handles overexposure much better than underexposure. Film, unlike digital sensors, tends to lose detail quickly in the dark areas of an image when it doesn’t receive enough light. In contrast, overexposed film often retains detail in the highlights and can even create a more aesthetically pleasing image with a brighter look. This is why I, and many others in the film community, suggest erring on the side of overexposing your shots—film handles extra light like a champ, but once those dark areas are underexposed, there’s no way to recover that detail.
As for focusing, it comes down to getting to know your lens and taking your time. Manual focusing may seem daunting at first, but with practice, it becomes second nature. Many film cameras use a split-image viewfinder to help you focus. This system works by aligning two halves of an image—once the two halves match up, your subject is in focus. Different cameras might have slight variations in their focusing aids, but the goal is always the same: make sure what you want to be sharp is clear in the viewfinder.
Take your time with focusing, especially when shooting wide open (with a large aperture like f/2.8 or f/1.8), where the depth of field is very shallow. Slow down and double-check that your subject is exactly where you want it in focus before pressing the shutter. In film photography, with limited shots on each roll, slowing down and getting your focus right can make all the difference.
Composition is another part of film photography that allows for endless creativity. How you frame your shots can make all the difference in the visual impact of your images. If you’re just starting out, I’d recommend beginning with the rule of thirds. This is probably the most straightforward way to compose your images, and it will help get you out of the habit of placing your subject directly in the center of the frame.
There’s nothing inherently wrong with centering your subject, but having them smack in the middle isn’t always the most dynamic or visually interesting choice. By using the rule of thirds, you can place your subject along one of the grid lines or at the intersection points, creating a more balanced and engaging image.
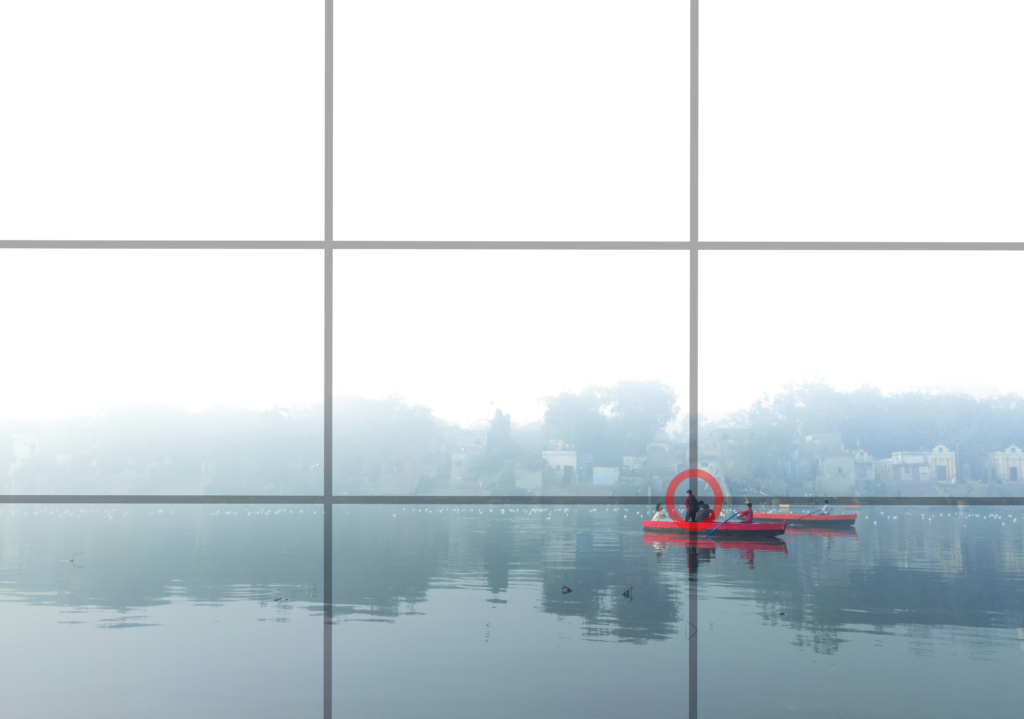
Of course, this is just the beginning. There are many other techniques you can explore, such as using leading lines to guide the viewer’s eye through the image or applying the golden ratio for a more mathematical approach to balance. There’s so much to talk about when it comes to composition, but when you’re starting out, try placing your subject along the rule of thirds grid—it will help you create more interesting images right from the start.
As you gain more experience, you can experiment with different approaches and break the rules to fit your creative vision. But for now, learning these basic principles will give you a solid foundation to build on.
When you’re just starting out, I highly recommend sending your film to a lab or dropping it off at a local location for processing. In the beginning, you’ll likely be shooting a small volume of film, so the processing fees shouldn’t break the bank too much. Labs will typically offer you the option to get your negatives scanned as well, which is convenient if you want to digitize your images.
However, as you begin shooting more and more rolls, the costs of processing and high-quality scans can quickly add up, especially if you’re consistently working with multiple rolls of film. That’s when you might want to consider developing at home.
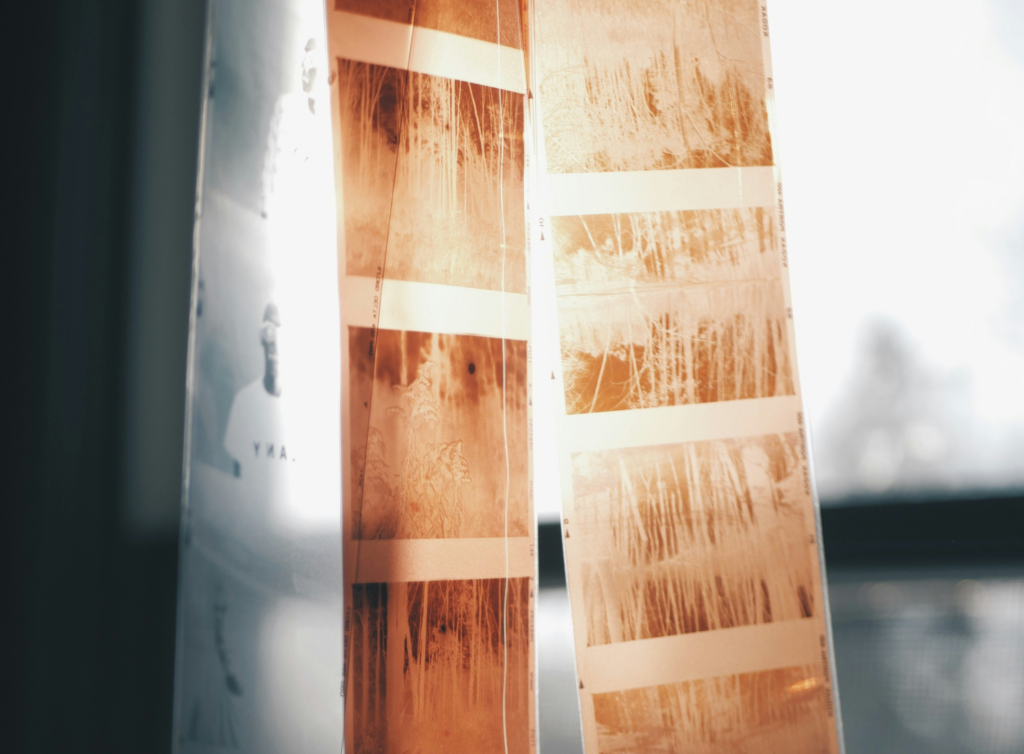
You can develop both color (C-41) and black-and-white film at home with just a few tools, many of which are relatively affordable. Black-and-white development is often considered the easier and more forgiving process, making it a great place to start. The chemicals are straightforward, and there’s more room for slight variations without ruining the film.
On the other hand, color (C-41) development requires a bit more precision, particularly with temperature control, which some say makes it more challenging. While I personally think both processes are fairly simple, there is definitely more room for error with color development. With that said, once you get the hang of it, developing color film at home can be just as rewarding and will save you a lot of money in the long run.
As your passion for film photography grows and your volume of shooting increases, home development becomes a cost-effective and rewarding option.
Once you’ve developed your film, you can move on to either printing in the darkroom or scanning your negatives to digitize them. For printing, you’ll head over to the enlarger, but for scanning, you’ll need a dedicated process. Here are three options to consider, depending on how hands-on you want to be with your film scanning.
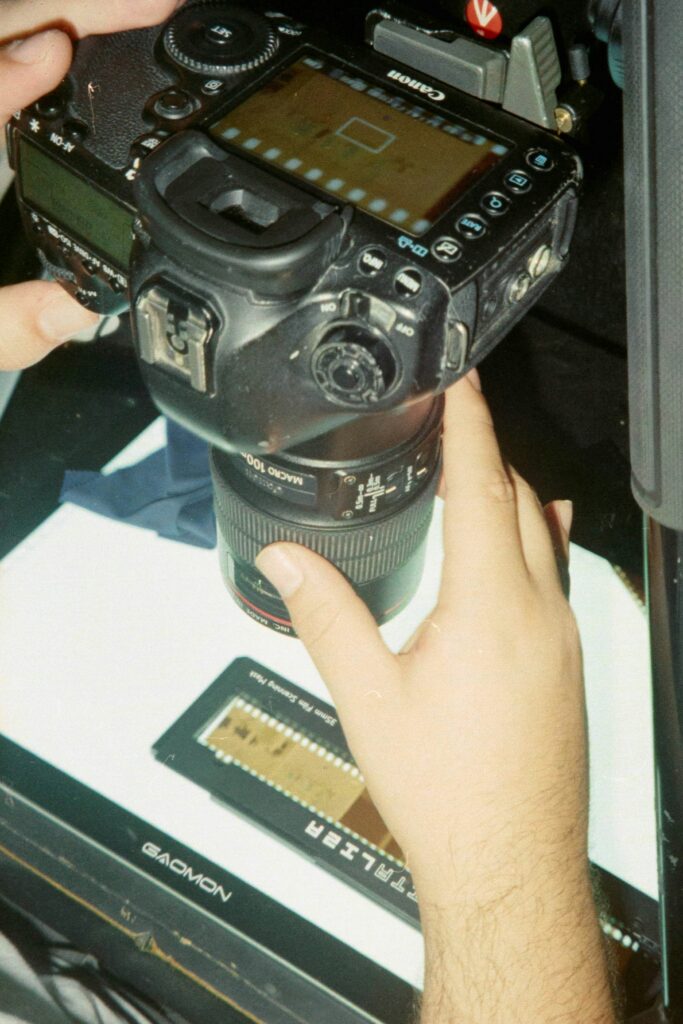
I’ve personally used all three of these options, and each one has its strengths. Ultimately, the best choice depends on how involved you want to be in the scanning process and what quality level you’re aiming for. Whether you prefer the convenience of lab scans or the hands-on approach of using a flatbed or digital camera setup, all three options are great ways to digitize your film.
As you start your journey in film photography, there are a few key things to keep in mind to help you avoid common pitfalls. These are just a few things to watch out for, but they’ll make a big difference in your early experiences. Remember, the best approach is to stay connected with the film photography community and take advantage of the wealth of resources available. You can always come back here for more detailed information, but I also encourage you to reach out to others you see posting online. The community is full of knowledgeable photographers who are more than willing to share tips, answer questions, and help guide you.
Here are a few things to keep in mind:
Film photography offers a unique and rewarding experience. The tactile process, combined with the need to slow down and think through each shot, makes it a powerful way to improve your skills and reconnect with the craft of photography. Whether you’re just starting or looking to deepen your knowledge, film has a way of teaching patience, creativity, and technical mastery.
So grab a roll of film, load your camera, and start capturing moments that matter. Don’t be afraid to make mistakes—they’re all part of the learning process. And if you have questions or want to share your experience, I’d love to hear from you!